SUS Manufacturing Process
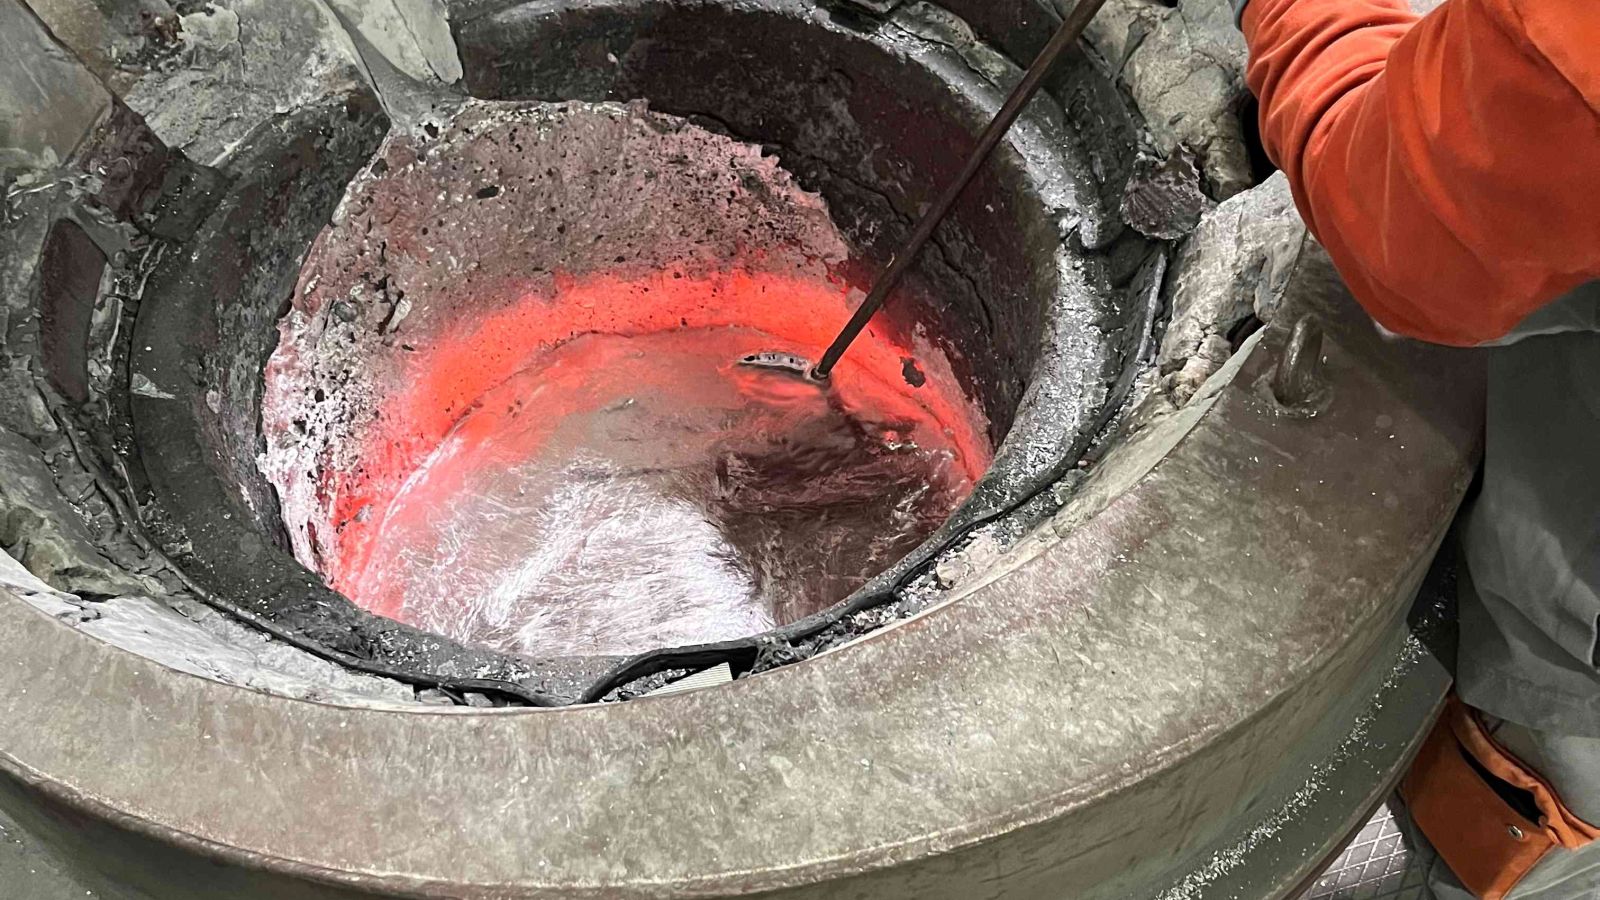
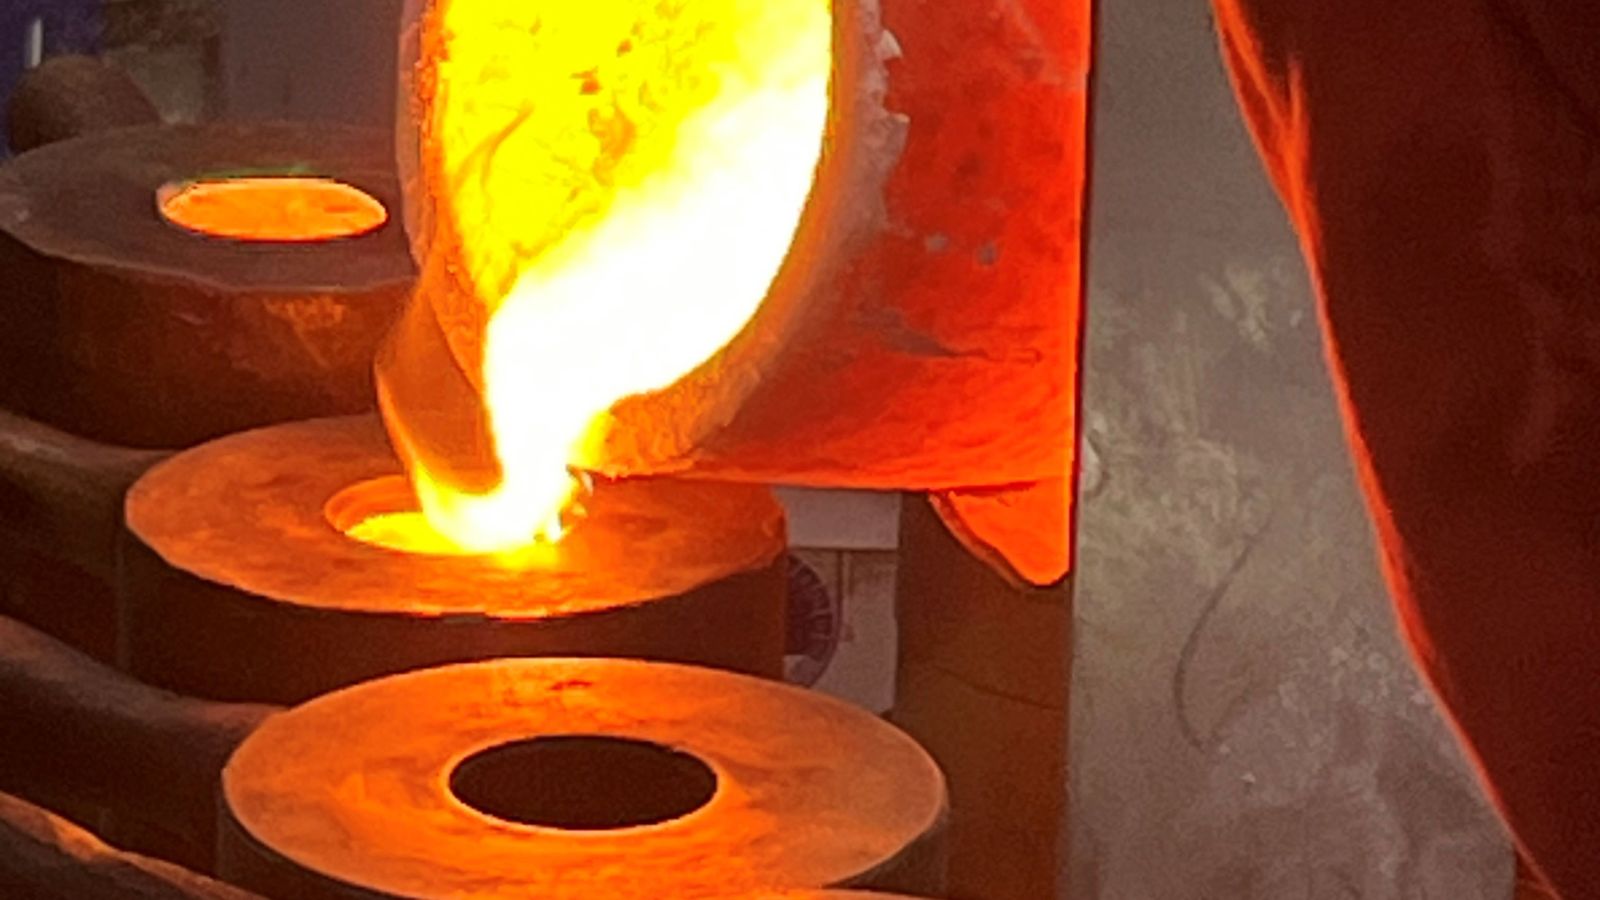
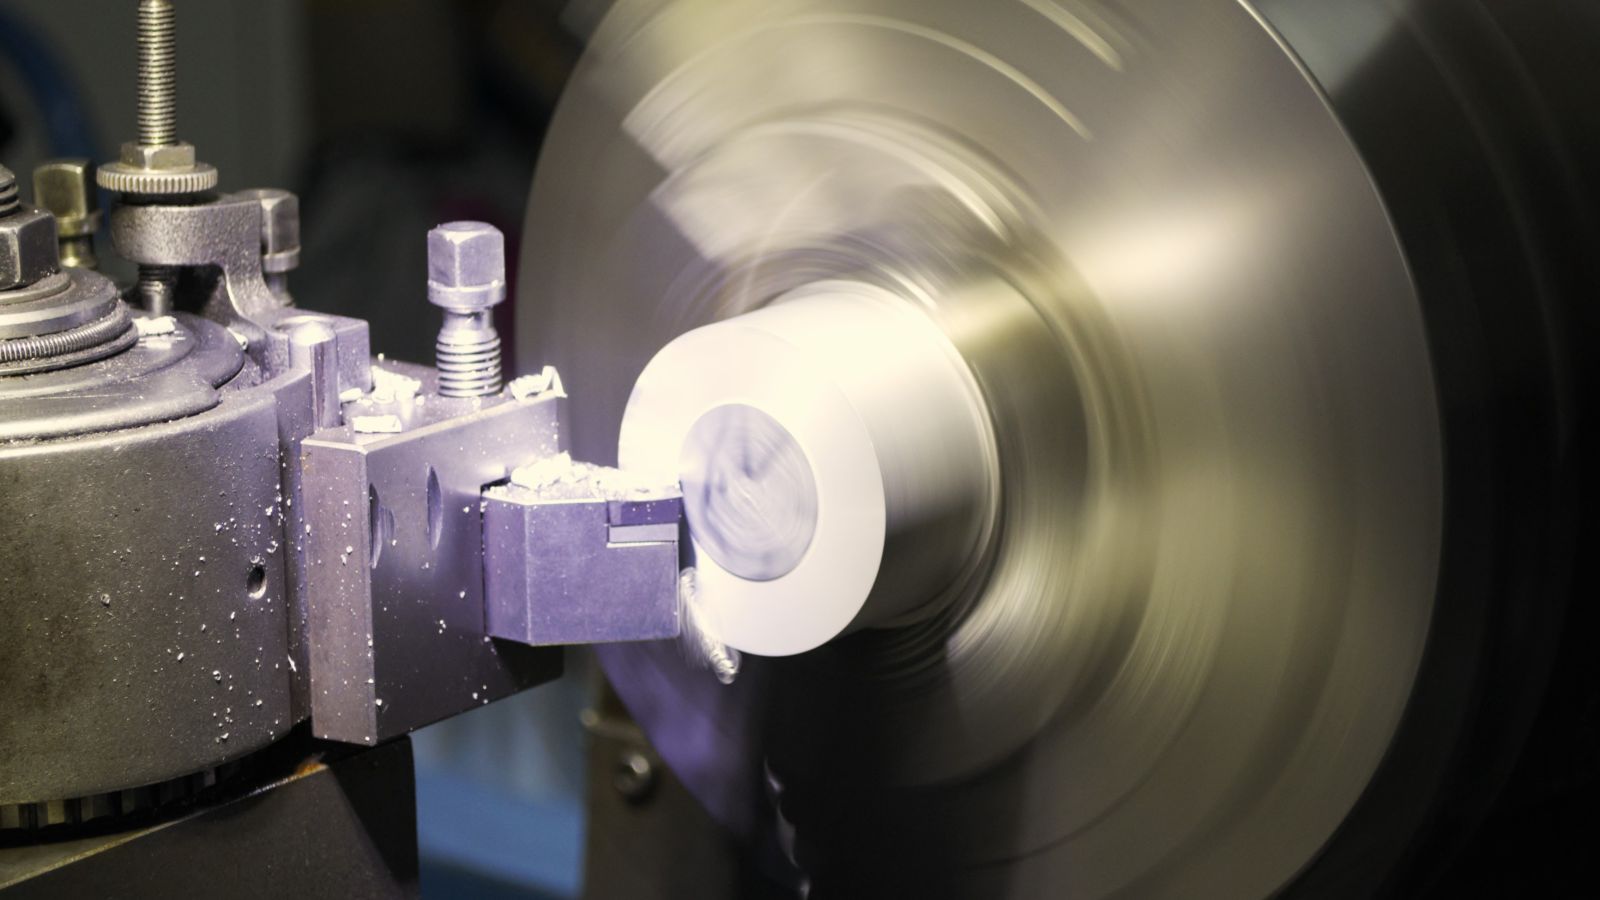
In addition to our own melting plant for mold casting, we develop conceptual manufacturing solutions. We combine individual manufacturing processes to create novel production processes.
Powder metallurgically produced recalibration samples theoretically offer an almost endless alloy spectrum of varying concentrations with excellent homogeneity. 30 years of experience in powder metallurgy also include the high-tech metal powder treatment processes, such as screening, mixing, air sifting, agglomerated, etc.
Samples
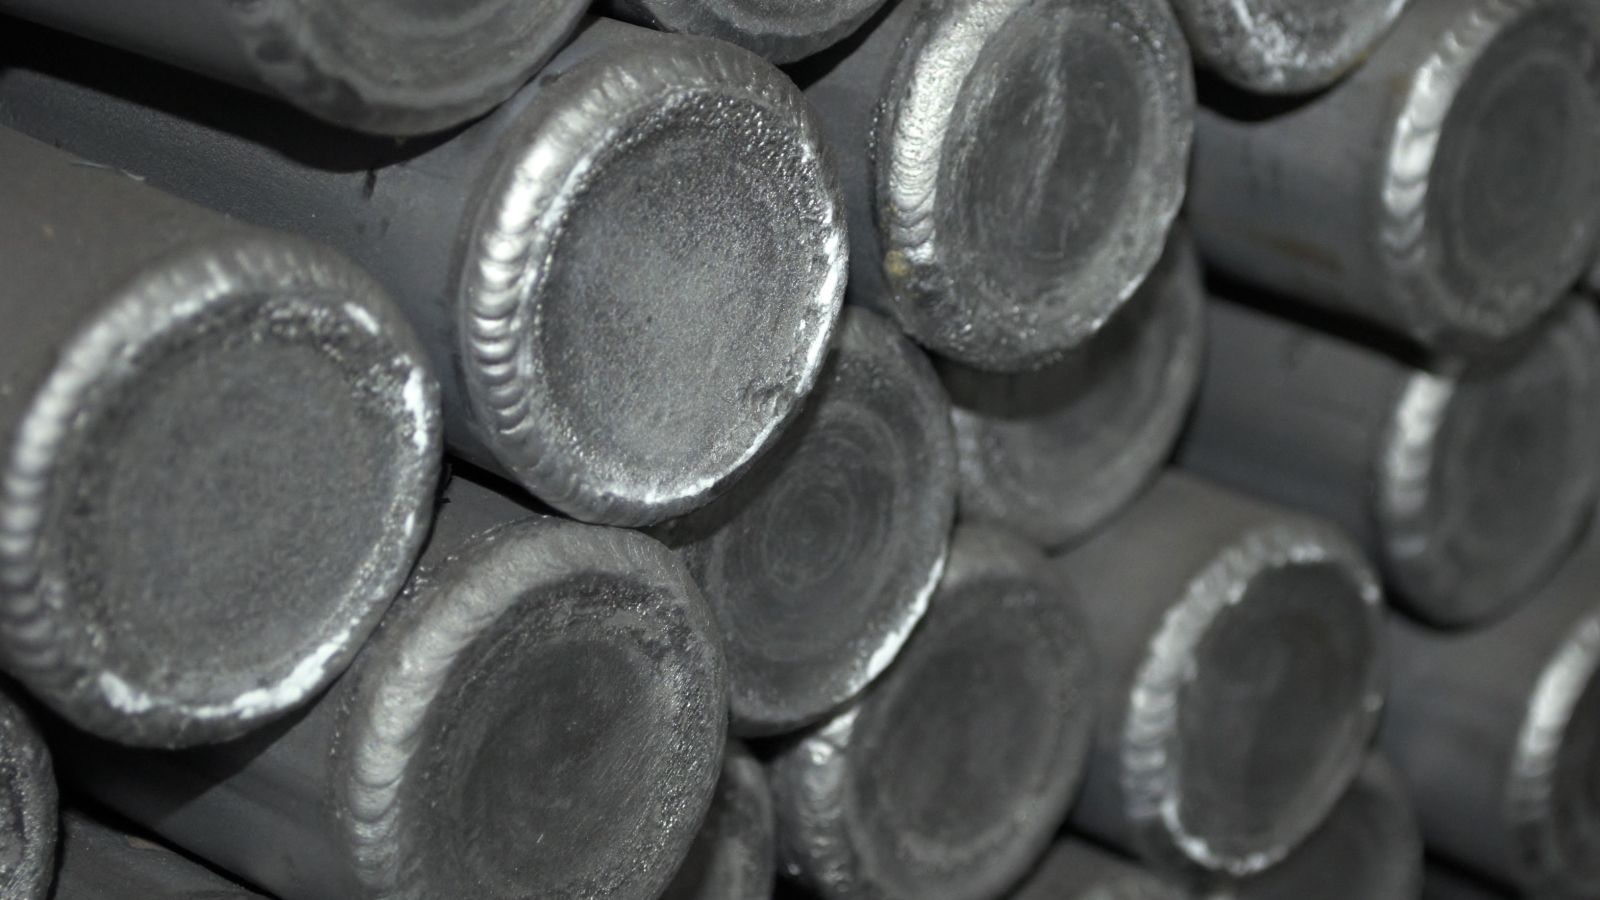
Calibration Samples
Calibration samples are operational reference samples and thus certified reference samples (CRM). Reference samples largely correspond in the matrix to the operational analysis samples. They are therefore the basis of every spectrometric calibration. The prerequisite for the calibration of spectrometers is suitable calibration samples. The most important requirement arises from the fact that comparative measurements are not carried out in absolute terms. Experience enables the conclusion from the known to the unknown. The unknown is the analysis sample, the known is the calibration sample. Analysis and calibration samples must be comparable, otherwise matrix disturbances will occur.
Control Samples
The calibration of a spectrometer is carried out with a large number of reference samples, one of which should be CRM samples. Testing the calibration of a spectrometer with the same reference samples or even the same CRM samples does not make sense, because it is created with these samples.
The elements of the spectrometer control sample have reasonable tolerance limits of the spectrometrically determined value.
Recalibration Samples
When recalibrating spectrometers (OES, XRF) with calibration samples (certified, secondhand), recalibration samples (setting-up samples) are measured several times in order to obtain a reliable nominal value (setpoint) that matches the calibration. The additive and/or multiplicative changes in the intensities of the spectrometer that occur in the following cause shifts in the calibration curve on the linear scale of the coordinate system. In order to trace back (calculate) the current intensities at any later point in time to the nominal intensities available during calibration, a low intensity (low point TP) and a high intensity (high point HP) are required, depending on the analysis channel. The low points of all analytical channels are often measured with the pure base metal (Fe, Al, Cu, etc.) in metal analyses, which also has disadvantages.
Comparison Samples for mobile spectrometers
Mobile spectrometers, especially those with arc or spark discharges in air, are usually used used to verify the identity of metals. Often no analysis of the chemical elements is carried out. in the usual sense via calibration curves, but the spectral intensities of the test specimens with those of comparative samples (within specified tolerances) for the alloying elements likened. If they are within the tolerances, it is the same quality as that of the Comparative sample.


